Hexo-theme-pures是一个Hexo的主题框架
效果查看:溯的主页
一、使用pure主题
pure主题地址:https://github.com/cofess/hexo-theme-pure.git themes/pure
在你的博客根目录下右击选择git bash here命令行窗口输入如下命令
1、克隆pure到本地:
1
| git clone https://github.com/cofess/hexo-theme-pure.git themes/pure
|
注意:如果github下载慢,建议使用gitee导入pure的girthub仓库,然后进行下载,具体操作请查看:使用gitee导入github项目,解决github下载速度缓慢
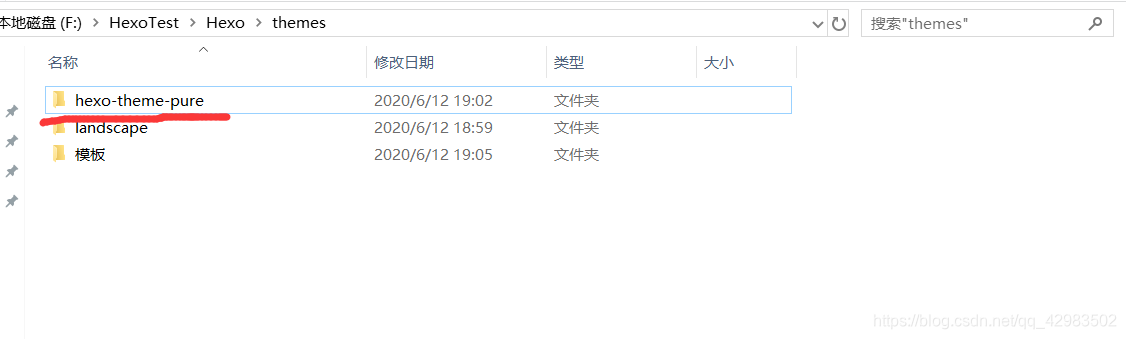
如果使用gitee下载,请解压至博客文件夹下的themes目录下
下载后 如下图:
2、启用pure主题:
配置文件说明:
在 Hexo 中主要有两份配置文件,其名称都是 _config.yml。 一份位于博客根目录下,主要包含 Hexo 本身的配置;另一份位于主题根目录下,主要用于配置主题相关的选项。
(1)打开博客配置文件_config.yml,做如下修改:
1
2
| language: zh-CN //设置主题为中文版,若使用英文版则不修改
theme: hexo-theme-pure //修改hexo主题
|
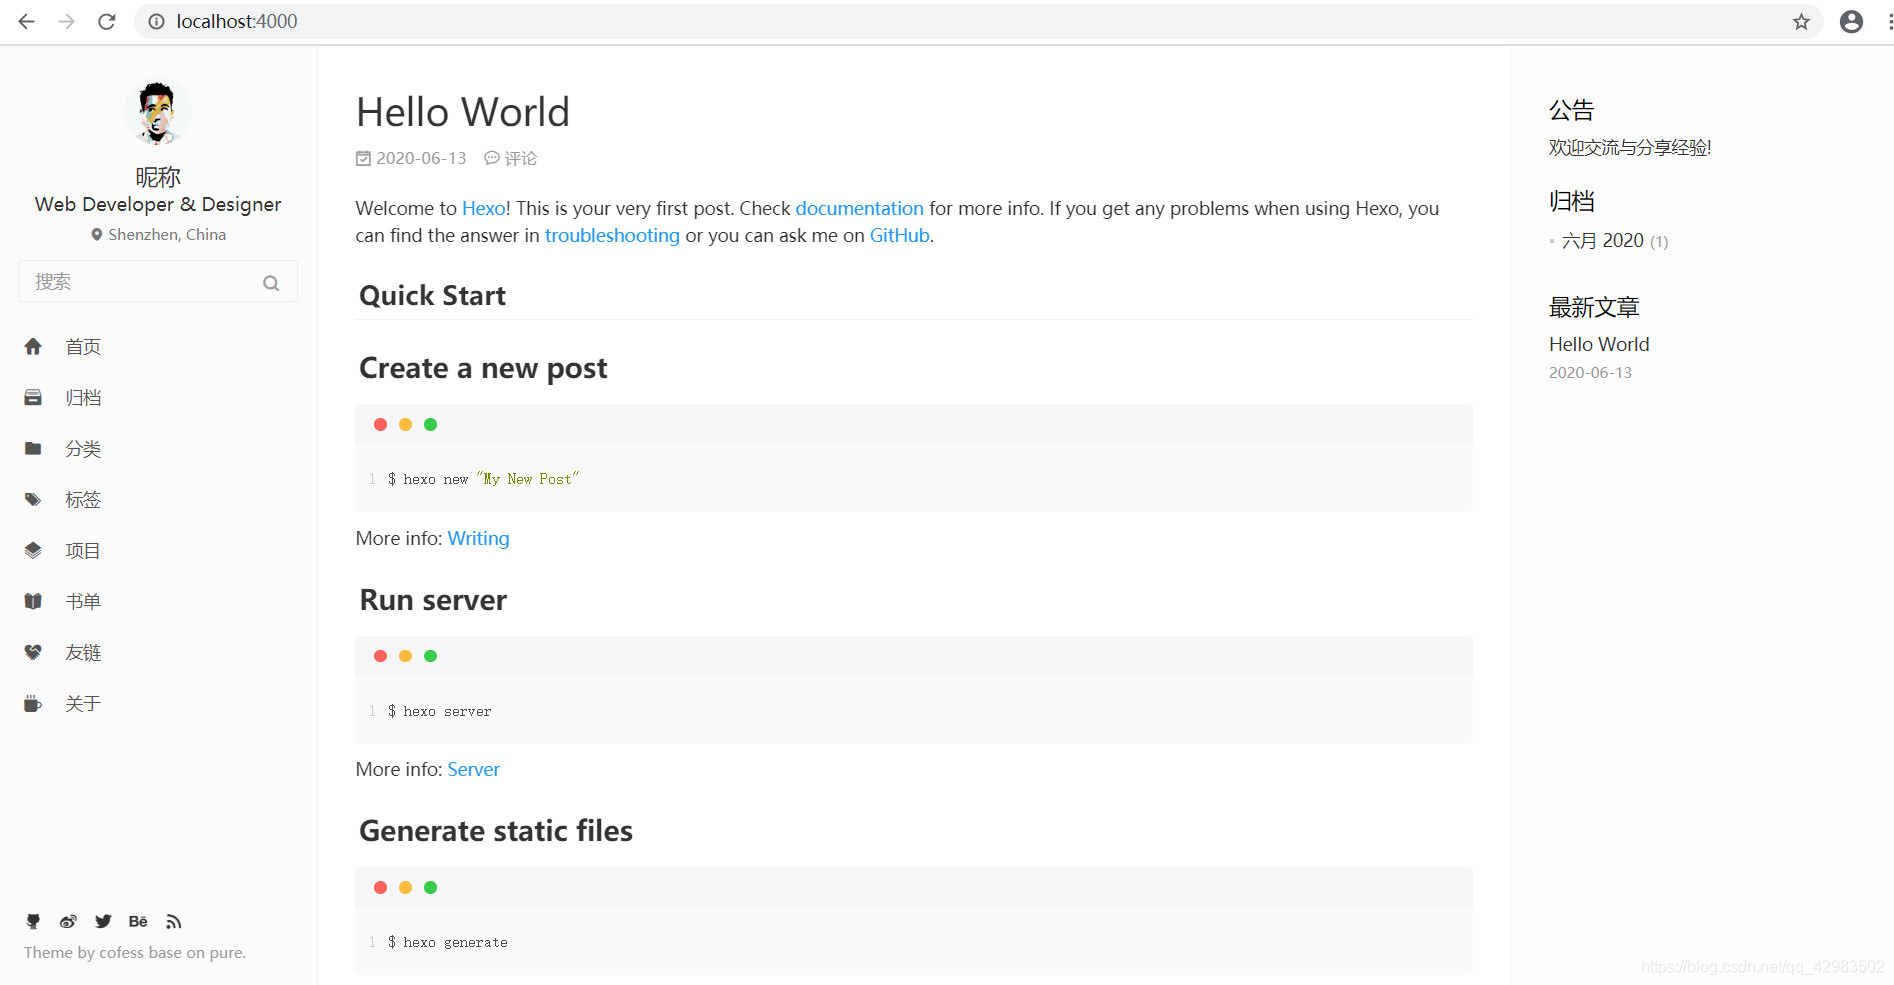
(2)在博客文件夹下打开git bash命令行窗口依次使用如下指令:
启动服务后:进入本地浏览器输入:http://localhost:4000/,如下图
3、安装pure插件:
在博客文件夹下打开git bash命令行窗口依次使用如下指令:
1
2
3
4
5
| npm install hexo-wordcount --save
npm install hexo-generator-json-content --save
npm install hexo-generator-feed --save
npm install hexo-generator-sitemap --save
npm install hexo-generator-baidu-sitemap --save
|
二、配置pure主题
1、主题的基本配置:
将主题目录中 /theme/_source/ 下的所有东西复制进博客根目录的source文件夹中
注意: 看清楚是哪个目录
2、个人信息的配置:
打开主题根目录下的_config.yml配置文件:
(1)配置站点左边的主目录:
1
2
3
4
5
6
7
8
9
10
11
|
menu:
Home: .
Archives: archives
Categories: categories
Tags: tags
Repository: repository
Books: books
Links: links
About: about
|
单个目录界面的相关配置可在博客根目录的source下的同名文件夹中进行配置
(2)配置站点标题:
1
2
3
4
5
6
7
8
9
10
11
|
site:
logo:
enabled: true
width: 40
height: 40
url: ../images/logo.png
title: Hexo
favicon: /favicon.png
board: <p>欢迎交流与分享经验!</p>
copyright: false
|
(3)配置打赏信息:
1
2
3
4
5
6
7
8
9
10
11
|
donate:
enable: true
wechatpay:
qrcode: images/donate/wechatpayimg.png
title: 微信支付
alipay:
qrcode: images/donate/alipayimg.png
title: 支付宝
|
(4)配置个人信息:
1
2
3
4
5
6
7
8
9
10
11
12
13
14
15
16
17
18
19
20
21
|
profile:
enabled: true
avatar: images/avatar.jpg
gravatar:
author: 昵称
author_title: Web Developer & Designer
author_description: 个人简介。
location: Shenzhen, China
follow: https://github.com/cofess
social:
links:
github: https://github.com/cofess
weibo: http://weibo.com/cofess
twitter: https://twitter.com/iwebued
behance: https://www.behance.net/cofess
rss: atom.xml
link_tooltip: true
|
(5)配置about界面右栏目中的信息:
1
2
3
4
5
6
7
8
9
10
11
12
13
14
15
16
17
18
19
20
21
22
23
24
25
26
27
28
|
skills:
Git: ★★★☆☆
Gulp: ★★★☆☆
Javascript: ★★★☆☆
HTML+CSS: ★★★☆☆
Bootstrap: ★★★☆☆
ThinkPHP: ★★★☆☆
平面设计: ★★★☆☆
links:
Github: https://github.com/cofess
Blog: http://blog.cofess.com
微博: http://weibo.com/cofess
花瓣: http://huaban.com/cofess
Behance: https://www.behance.net/cofess
labels:
- 前端
- 前端开发
- 前端重构
- Web前端
- 网页重构
works:
name:
link: http://www.example.com
date: 2016
|
(6)开启评论功能:
Valine
一个无后端的评论框工具,其依赖于 Leancloud 开发,所以使用前需要先注册 Leancloud 账号
Valine配置
1
2
3
4
5
6
7
8
9
10
11
12
13
| valine:
appid:
appkey:
notify: true
verify: false
placeholder: 说点什么...
avatar: mm
meta: nick,mail,link
pageSize: 10
lang: zh-cn,
visitor: true
highlight: true
recordIP: true
|
(7)开启搜索功能:
1
2
3
4
|
search:
insight: true
baidu: false
|
(8)展示github项目:
1
2
3
|
github:
username: cofess
|
(9)开启文章字数,阅读时长,浏览量统计:
1
2
3
4
5
6
7
8
9
10
11
12
13
14
|
pv:
busuanzi:
enable: false
leancloud:
enable: false
app_id:
app_key:
postCount:
enable: false
wordcount: true
min2read: true
|
(10)友情链接的配置:
选择博客根目录下 /source/_data/ 中的links.yml配置文件,可仿照其中样例进行配置
(11)分类和标签的配置:
三、更新站点,查看效果
在博客文件夹下打开git bash命令行窗口依次使用如下指令:
1
2
3
| hexo clean
hexo g
hexo s
|
启动服务后:进入本地浏览器输入:http://localhost:4000/ 进行查看
记得当初思考怎么配置分类和标签时候,纠结了很久,反复的看配置文件,最后发现分类和标签的配置需在博文中设置,在下一节讲解:下一节
Finish